A home inspection that flags “roof nearing end of life” can feel like a straightforward maintenance item—until you picture what could go wrong. The leak risk is real, but the bigger fear is ending up with a roof that looks “new” in a way that makes the whole house feel off: the wrong texture, the wrong lines, too much shiny metal, vents scattered across the front slope, or flashing that looks like an afterthought.
In Atlanta, the best outcome for a historic home is rarely “pick a shingle color and hope.” It’s a design-and-documentation decision: choosing a roofer who can protect the character you already have while still improving performance and meeting whatever guidelines apply to your property. This guide shows what to ask, what to avoid, and how to keep approvals and craftsmanship from becoming last-minute surprises.
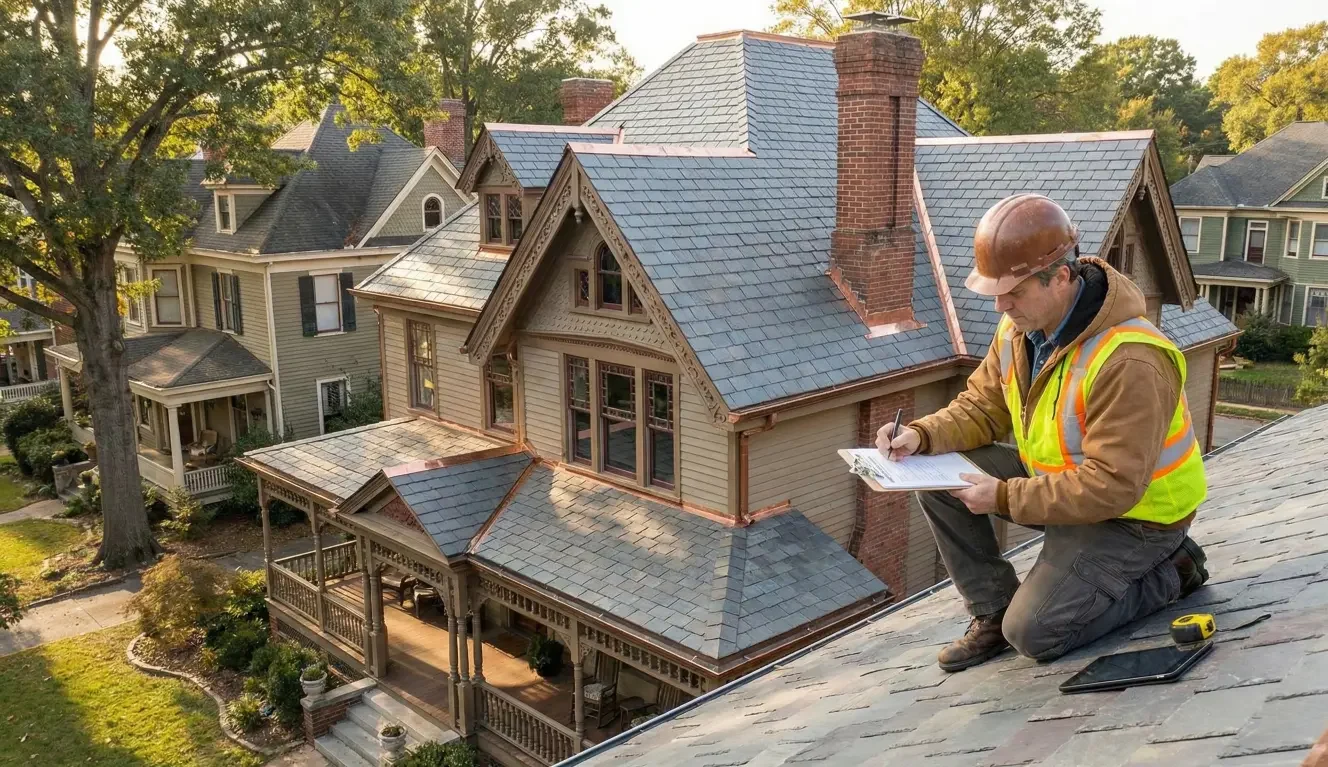
You have to start looking for Roofer for a Historic Home in Atlanta…
The real goal: upgrade performance without visually “modernizing” the roof
When people say a roof “ruined the character,” they usually don’t mean the roof failed technically. They mean the roof changed the home’s face—sometimes subtly, sometimes dramatically—because the replacement prioritized speed and standardization over details.
What “ruining character” usually looks like (texture, lines, metal, vent clutter)
A few common patterns show up again and again on historic homes:
- A different “surface” than the neighborhood standard. Even if the color is close, a different shingle profile or texture can read as flat, overly dimensional, or overly uniform compared to nearby historic homes.
- Hard visual breaks at edges and transitions. Drip edge, valley metal, flashing, and pipe boots can create shiny lines or abrupt shapes that catch the eye from the street.
- Vents that multiply across the most visible roof planes. When ventilation is added without a deliberate plan, it often shows up as a row of box vents, mushroom vents, or other protrusions placed wherever it’s easiest—sometimes right on the front slope.
- “New roof syndrome.” Everything becomes a matching, high-contrast set of components (shingles, vents, flashing, ridge caps) that looks like a kit, not a roof that belongs on a home with age and detail.
None of these are inevitable. But they become likely when the roofer is making decisions on the fly—or when the homeowner doesn’t know what to specify.
What “respecting character” looks like (subtle choices + consistent detailing)
A historic-friendly roof replacement tends to look “quiet” from the street:
- The shingle choice supports the home rather than announcing itself. The profile, shadow lines, and blend feel consistent with the home’s scale and era.
- Metal details don’t dominate. Flashing and edges are neat, minimal, and color-appropriate so they disappear rather than shine.
- Ventilation improvements are intentional and restrained. The goal is better airflow with fewer visible elements, placed where they won’t distract from the front elevation.
- The roofer treats transitions like finish work. Valleys, penetrations, chimneys, dormers, and roof-to-wall connections get the same attention as the “big field” of shingles.
If that’s the outcome you want, you’re not just hiring a crew. You’re choosing a process.
First, identify your constraint level (historic district, HOA, or none)
Before you compare roofers, get clear on the rules that may shape your options. Two homeowners can live ten minutes apart in Atlanta and face very different constraints depending on district boundaries, neighborhood requirements, or HOA standards.
When you need approvals (and what usually triggers review) (TBD: exact local process)
Some properties require review before you change exterior-visible materials or details. Others don’t. The challenge is that roof work can sit in a gray zone: you may be “replacing in kind,” or you may be changing materials, colors, profiles, or visible components.
Because the exact approval requirements vary by location and governing body, treat this as a practical principle:
- If your roof change will be visible from the street and not clearly “like-for-like,” assume you may need review.
- If you’re unsure, confirm your property’s rules before ordering materials or scheduling work.
Safe approach: ask your roofer to plan as if documentation may be needed. That way, you’re not scrambling for photos, product details, and scope language after the fact.
What to collect before you call roofers (photos, prior roof history, neighborhood comparables)
A roofer who can protect historic character will ask better questions—and you can help them start strong by collecting a small set of inputs:
- Street-view photos of your home (front, both sides, and any visible roof planes).
- Close photos of existing roof details (rakes, eaves, valleys, dormers, chimney flashing, pipe penetrations).
- Any known roof history (approximate age, prior leak areas, past repairs).
- 2–3 neighborhood comparables you think “look right” (photos of nearby homes with roof styles you like).
- Any written guidelines you have (HOA rules or historic district guidance, if applicable).
This isn’t busywork. It’s how you move the conversation from generic estimates to a plan that fits your home.
Material choices for historic homes: what you’re really choosing
Most roofing conversations get stuck on brand names. For historic homes, brand matters less than appearance variables: how the roof reads from the street and how the details will be executed.
Shingle appearance variables that matter: profile, granule blend, shadow lines
Even within asphalt shingles, there are major differences in look:
- Profile and dimension: Some shingles create bold, high-contrast shadow lines. On certain historic homes, that can look too “architectural” or busy. On others, it can add depth in a way that feels right. The key is matching the home’s scale and neighborhood context.
- Granule blend and color variation: Historic streetscapes often benefit from a roof color that has subtle variation rather than a single flat tone. But “variation” can also look speckled or overly contrasty if the blend is aggressive.
- Ridge cap appearance: Ridge caps can look chunky or prominent depending on the product and installation. On a historic home, you generally want ridge details that don’t draw attention.
- Accessory coordination: Pipe boots, flashing, and vents should coordinate with the roof color and finish so they recede visually.
Ask roofers to show you installed examples—not just a brochure. A shingle can look one way on a small sample and completely different across an entire roof plane in bright Atlanta sun.
When metal details help (and when they look out-of-place)
Metal can be a historic-friendly choice in the right places and the wrong choice in others.
Metal details can help when:
- They’re used for clean transitions and water management (for example, careful flashing work).
- The finish is color-appropriate and not overly reflective.
- The lines are minimal and neat, avoiding “patchwork” looks.
Metal can feel out-of-place when:
- It creates shiny outlines at edges that become the first thing you notice.
- Large areas of exposed metal are added without regard to how the home originally presented.
- Different metal finishes clash (one looks matte, another glossy) and the roof reads “assembled.”
The takeaway: don’t treat metal as a default upgrade. Treat it as a detailing decision with visual consequences.
Roof color in historic neighborhoods: how to pick without regrets
Color is where many historic roof replacements go sideways—not because the color is objectively “bad,” but because it’s wrong for the home’s materials, the street’s palette, or the way light hits the roof.
“Looks right” rules: undertones, contrast, and sun exposure
Three practical rules help homeowners make better choices:
- Undertone matters more than the name. “Charcoal,” “weathered wood,” and “slate” can each carry warm or cool undertones. Put samples next to brick, stone, and trim colors and look for harmony—not just “dark vs light.”
- Avoid extreme contrast unless the neighborhood supports it. A very black roof on a softer, aged exterior can look harsh. On the other hand, a roof that’s too light can look washed out and unfinished. Aim for a roof tone that supports the home rather than dominating it.
- Consider sun exposure and roof pitch. Atlanta sun can make some blends look brighter or more reflective than expected. Steeper pitches show more roof area from the street, which amplifies whatever choice you make.
A roof color choice is easiest when you evaluate it in the same lighting conditions your roof actually lives in.
Ask for on-roof visualization: samples, photo mockups, nearby installs
Historic homeowners should push beyond “here’s a sample board.” Ask for at least one of the following:
- Larger physical samples placed near the exterior (even temporarily).
- Photo mockups using images of your actual home (helpful for narrowing choices).
- Addresses of nearby installs with similar home styles (best for real-world viewing).
If a roofer can’t help you visualize, it doesn’t mean they’re unqualified. But it does mean you may need a more deliberate process before you commit.
Ventilation upgrades—how to improve airflow discreetly
Ventilation is where well-intended “upgrades” can become the most visible mistakes. The goal is often legitimate: reduce heat buildup, improve moisture control, and support the roof system. The risk is turning the roof into a landscape of protrusions.
Options that reduce visible hardware (and where they can hide) (TBD: feasibility by roof design)
Low-visibility approaches often focus on minimizing what shows from the street and placing necessary components strategically. Feasibility depends on roof design, attic configuration, and how intake and exhaust can be balanced.
Rather than starting with “add vents,” start with “how do we improve airflow with the least visual impact?” That question leads to better planning—especially for the front-facing roof planes.
If a roofer immediately recommends multiple box vents on the most visible slope, treat that as a cue to ask for alternatives and a documented airflow plan.
The mistake: adding vents without a balanced plan
One of the most common failure modes is piecemeal ventilation:
- Adding exhaust without sufficient intake
- Mixing vent types without clear reasoning
- Placing vents wherever it’s easiest, not where it’s best
Even without getting technical, you can ask a simple, homeowner-friendly question:
“Can you explain where air will enter and where it will exit—and why these vent locations were chosen?”
A roofer who can answer that clearly (and show it) is far more likely to protect both performance and appearance.
Craftsmanship details that make or break historic curb appeal
On a historic home, the difference between “nice new roof” and “something feels off” often comes down to small things: edges, transitions, and how carefully the roofer handles penetrations.
Flashing approach: neat lines, minimal visual noise, correct transitions
Flashing is functional—but it’s also visible. Sloppy flashing looks like a patch. Overbuilt flashing can look like armor. For historic curb appeal, you’re typically aiming for:
- Clean, straight lines
- Consistent finish and color
- Thoughtful transitions at chimneys, dormers, walls, and valleys
Ask to see close-up photos of flashing work in the roofer’s portfolio. Wide “before/after” photos don’t tell you what you need to know.
Edge details: drip edge, fascia, and why “small metal” can look huge
Edges are deceptively important. A narrow strip of metal can read as a bold highlight if the finish is shiny or the color clashes.
Historic-friendly edge detailing often includes:
- Color-appropriate edge components that don’t reflect light
- Alignment that looks intentional (straight lines, consistent reveal)
- Careful coordination with fascia and trim
If your roofer talks about edges as an afterthought, you may end up with the most visible “new” detail on the entire house.
How to evaluate roofers for historic work (beyond reviews)
Reviews matter, but they don’t tell you whether a roofer can execute a preservation-friendly plan. For a historic home, you want to evaluate how they think, how they document, and how they manage details.
The portfolio test: what photos should include (edges, penetrations, valleys, transitions)
Ask for a portfolio that includes close-up shots—not just glamour angles:
- Eaves and rakes (edge work)
- Valleys (how water channels are handled)
- Chimney and wall flashings (transition quality)
- Pipe penetrations (boots and sealing)
- Ridge and hip details (cap appearance)
If a roofer can’t show these, you can’t verify the craftsmanship that will be most visible—and most critical.
The scope-language test: words that should appear in the proposal
For historic homes, “roof replacement” is not enough. The proposal should read like a plan, not a placeholder. Look for scope language that addresses:
- Materials by type (not just “architectural shingles”)
- Underlayment and flashing approach (and what’s included)
- Ventilation plan (not just “add vents”)
- Decking/wood repair handling (how it’s assessed and priced)
- Protection and cleanup methods (how the property is protected)
If a roofer is insurance-savvy and documentation-led, you should also expect a process that includes photos/video evidence and clear notes on what was observed.
If the proposal is vague, you’re not comparing roofers—you’re comparing guesses.
The project-management test: who’s on-site, how protection/cleanup is handled
Historic homeowners often care as much about how the job is run as what’s installed. Ask:
- Who is the on-site point person?
- How are landscaping, driveway, and exterior features protected?
- What does cleanup look like (daily and at the end)?
- How are unexpected findings handled (wood rot, flashing surprises)?
A one-day replacement can be a positive when it’s structured and supervised. It can be a disaster when it’s rushed and unmanaged.
Mistakes that lead to “historic-looking home, obviously new roof”
Most bad outcomes aren’t caused by one huge mistake. They happen when several small decisions stack up and no one is guarding the aesthetic.
Choosing by brand name alone
A respected brand can still be installed in a way that looks wrong on your home. Brand doesn’t decide:
- Shingle profile and visual impact
- Vent placement
- Flashing neatness
- Edge appearance
Choose the roofer who can show you how the roof will look and how they’ll control the details—not just which brand they offer.
Accepting a scope that ignores detailing and ventilation planning
If a scope doesn’t specify how visible elements will be handled, you’re leaving the most important decisions to field convenience. That’s when you get:
- Extra vents placed where they’re easiest
- Shiny, mismatched metal components
- “Standard” details that fight the home’s look
You don’t need to micromanage, but you do need the scope to address the parts you care about.
Skipping documentation until an adjuster/inspector forces the issue
Even if you’re not pursuing an insurance claim, documentation is a protection tool:
- It clarifies what’s actually happening on the roof
- It keeps you from paying for vague promises
- It reduces surprise change orders by identifying issues early
If damage is suspected, documentation may also help clarify next steps—coverage and outcomes vary by policy, but evidence makes conversations clearer.
A low-friction next step: schedule an evidence-based inspection + visual plan
When your inspection says “near end of life,” it’s tempting to rush into scheduling. For a historic home, the better move is to slow down for one step: get evidence and options before you commit to materials and scope.
What “documentation-led” should include (photo set, notes, options list)
A documentation-led inspection should give you more than a number. It should give you a clear picture of what’s true:
- Photo documentation of key roof planes and details
- Notes on visible wear, transitions, and risk areas
- A practical recommendation: repair vs replace, and why (if applicable)
- A list of options that considers appearance, not just performance
If your home is in a guideline-driven area, this documentation also becomes the foundation for whatever approvals may be needed (TBD based on your property’s rules).
What to ask for after the inspection: 2–3 roof plan options + aesthetic tradeoffs
Instead of a single “take it or leave it” proposal, ask for two to three options with tradeoffs explained:
- A conservative option that prioritizes visual continuity
- A performance-forward option that still respects appearance
- A balanced option that’s most likely to satisfy both
For each option, ask:
- How will this choice affect the roof’s look from the street?
- What details will be most visible (edges, vents, flashings)?
- What’s the plan to keep the roof “quiet” visually?
A roofer who can answer these questions clearly is a roofer who’s prepared for a historic home.
Schedule your inspection and keep the character intact
Your inspection says the roof is near end-of-life—now the question is how to replace it without losing what makes your home historic.
Book a free roof inspection and get clear photo documentation of the details that matter: lines, flashings, ventilation options, and material fit.
We’ll walk you through 2–3 paths and the aesthetic tradeoffs—so you can choose confidently before anything is ordered.
Schedule your inspection and keep the character intact.
FAQ content
1) What is the best roofing material for a historic home in Atlanta?
There isn’t one universal “best” material—what works best depends on your home’s style, the neighborhood look, and any guidelines that apply. For many historic homes, the right choice is the material and profile that preserves the home’s visual character while meeting performance needs. Ask your roofer to show installed examples on similar homes and explain the tradeoffs.
2) How do I choose a roof color that fits a historic neighborhood?
Focus on undertones and how the color interacts with your brick, stone, paint, and trim—not just whether it’s “dark” or “light.” Try to view larger samples in outdoor light and, if possible, look at nearby installs on similar homes. Avoid extremes unless the neighborhood’s historic palette clearly supports them.
3) Can I add ventilation to a historic roof without visible vents everywhere?
Often, ventilation can be improved with an approach that minimizes visible hardware, but feasibility depends on roof design and how intake and exhaust can be balanced. The key is asking for a ventilation plan that explains placement and visual impact—rather than accepting a default “add a bunch of vents” recommendation.
4) Do I need approval to replace a roof on a historic home in Atlanta? (TBD: depending on district)
Some historic districts, HOAs, or guideline-driven areas may require review—especially if you’re changing visible materials, profiles, colors, or venting. Because the exact requirements vary, confirm your property’s rules before ordering materials. If you’re unsure, plan the project as if documentation may be needed so you don’t get stuck midstream.
5) What should a roofer’s proposal include for a historic home roof replacement?
Beyond price, it should include material specifics (not just “architectural shingles”), a clear plan for flashing and edges, and a ventilation approach that avoids clutter on visible roof planes. It should also explain how decking or wood repairs are handled, and how the property will be protected and cleaned up. Vague scopes make it hard to compare bids and easy to get surprised.
6) What are the most common “character-killing” mistakes during roof replacement?
Common issues include picking a shingle profile that’s too bold or too uniform, using shiny or mismatched metal details, and adding vents without a balanced plan—especially on the front-facing roof slope. Another major mistake is accepting a proposal that doesn’t specify how visible details (edges, flashings, penetrations) will be handled.
Your inspection says the roof is near end of life—now the question is how to replace it without losing what makes your home historic.
Book a free roof inspection and get clear photo documentation of the details that matter: lines, flashings, ventilation options, and material fit.
We’ll walk you through 2–3 paths and the aesthetic tradeoffs—so you can choose confidently before anything is ordered.
Schedule your inspection and keep the character intact.
RELATED LINKS:
City of Atlanta — Historic Preservation (COA overview)