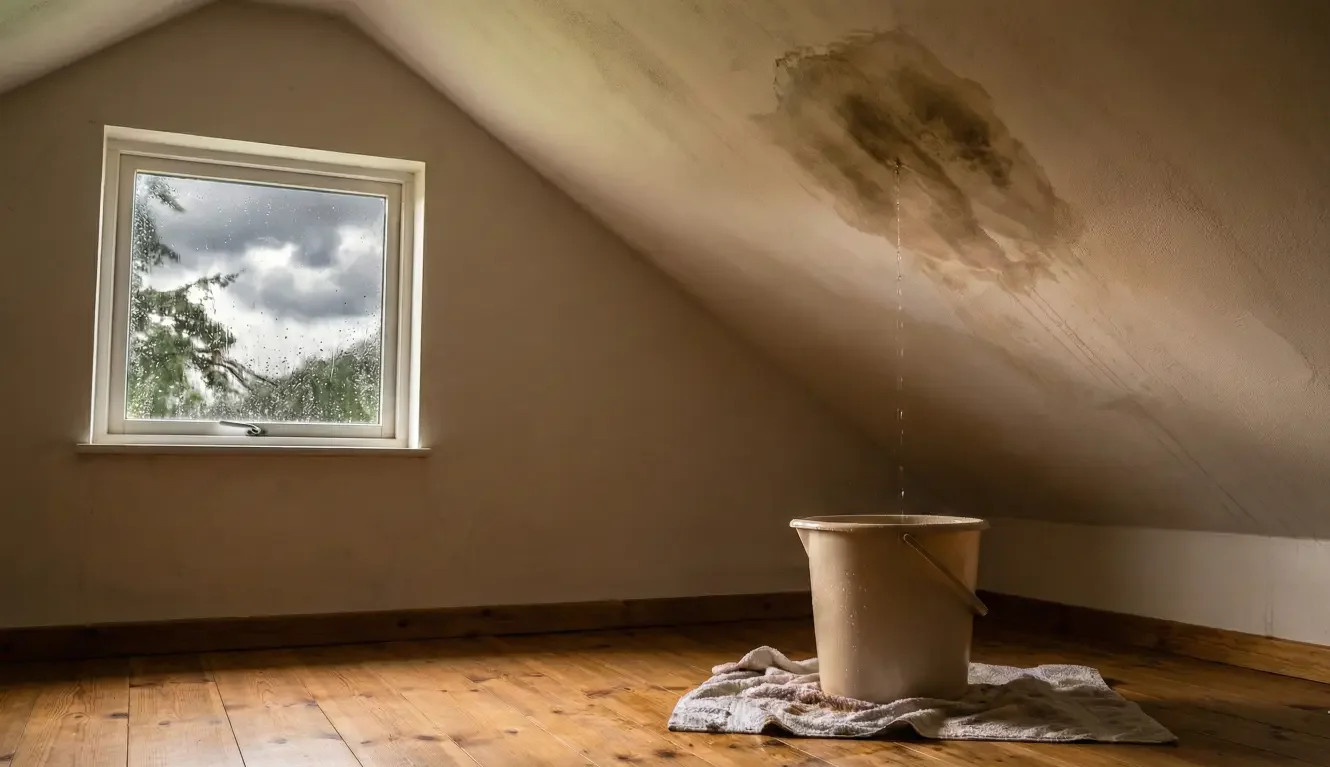
That faint brown ring on the ceiling feels small—until it spreads after the next rain. And that’s what makes post-storm leaks so tricky: they often don’t start where you see the stain, and the “easy patch” instinct can accidentally hide damage that keeps growing under the surface.
We have a small roof leak after a storm…
If you’re staring at the first water spot on your ceiling days after a storm, this guide will help you treat it like a clue, not a conclusion. You’ll learn how to triage a “tiny” leak, what hidden damage it can signal, and what evidence to gather so you’re not guessing (or making a fix that backfires later).
The “Small Leak” Trap: Why a Tiny Stain Can Mean Bigger Roof Damage
A roof leak isn’t like a dripping faucet where the problem is usually right at the drip.
With storm-related leaks, a lot of the damage happens in layers you can’t see: shingles, flashing, underlayment, decking, and the paths where water can sneak in under wind-driven rain. Then the leak shows up later—inside—once water has already found a route to your ceiling.
That’s why a “tiny” ceiling stain can be misleading. It can be:
- the first visible sign of a larger wet area above the drywall,
- the result of water traveling along framing before it drops,
- or the beginning of an issue that worsens each time it rains.
In other words: small doesn’t always mean simple. It often means early.
First 30 Minutes: What to Do Inside the House (Damage Control + Evidence)
When you first notice a stain or drip, you’re balancing two priorities:
- protect your home from further interior damage, and
- preserve useful evidence of what’s happening.
Here’s a practical “do this today” mini checklist.
Step 1: Control the water safely
- Put a bucket or container under any active drip.
- If the ceiling is bulging or sagging, avoid touching it—wet drywall can fail unpredictably.
- Move furniture, rugs, electronics, and anything valuable out of the area.
- Use towels to protect floors and baseboards.
If you’re tempted to poke the drywall to “let it drain,” pause. That can create more mess and can destroy a clean record of how the damage appeared. If the ceiling looks like it might collapse, that’s the moment to prioritize safety and get help.
Step 2: Document what you see before you clean it up
Take photos and short videos right away, even if it feels excessive. You’re capturing the story of the leak while it’s fresh.
Capture:
- the stain from a few angles (wide shot and close-up),
- any active dripping (video is especially helpful),
- the date/time you noticed it,
- and the general weather context (e.g., “storm was Friday night, stain showed up Monday morning”).
Then write a quick note in your phone:
- storm date (approximate is okay),
- when you first noticed the stain/drip,
- whether it’s growing, and
- whether it appears only during rain, only during wind, or “randomly.”
Step 3: Check the attic only if it’s safe
If you have attic access and it’s safe to enter:
- Use a flashlight.
- Look for damp insulation, darkened wood, or a shiny “wet” look on framing.
- Don’t step on drywall—step only on joists or a safe walkway.
If you don’t have attic access (or it’s unsafe), don’t force it. That’s normal in many homes, and it’s not a reason to delay action.
The Misconception to Drop: “If the Roof Looks Fine From the Ground, It’s Fine”
This is the moment most homeowners get stuck.
You go outside, look up, and the roof appears… normal. No missing shingles. No tree on the house. No dramatic hole. So you start talking yourself into “maybe it’s just a little flashing thing.”
The issue is that many storm-related problems are subtle and not visible from the ground, including:
- shingles that lifted slightly and resealed poorly (or not at all),
- compromised seal strips that let wind-driven rain push upward,
- tiny punctures from debris,
- flashing that shifted or loosened at a transition,
- or damage around penetrations (vents/pipes) that looks “fine” until it rains hard at the right angle.
And there’s another complication: the ceiling stain is not a GPS pin for where water entered. Water often follows framing and can show up away from the entry point. That’s why someone can patch the “area above the stain” and still see the problem return.
A roof can look okay from the ground and still be letting water in. That’s not fear-mongering—it’s just how layered roof systems and wind-driven storms work.
Diagnostic Triage: The Most Common Post-Storm Leak Paths (From Most Likely to Least Obvious)
Instead of guessing, use a triage mindset: start with the most common pathways, then work toward the less obvious ones.
Flashing and transitions (chimneys, walls, valleys)
Flashing is the thin material that seals the edges where different surfaces meet. Think: where roof planes intersect, where the roof meets a wall, around chimneys, and in valleys where water concentrates.
Why flashing is a frequent culprit after storms:
- Wind can loosen edges.
- Heavy rain can overwhelm a small gap.
- Debris can redirect water into areas that normally stay dry.
Even a small separation or lifted piece can let water in during wind-driven rain—and then you see the stain days later.
Roof penetrations (vents, pipes, skylights)
Every penetration is a “break” in the roof surface that must be sealed correctly. After storms, common issues include:
- cracked rubber boots around vent pipes,
- loosened fasteners,
- sealant failure around edges,
- or flashing collars that shifted.
Skylights are their own category of risk because they combine multiple seams and transitions.
A key clue: leaks tied to penetrations may worsen during heavy rain, especially if wind pushes rain sideways.
Shingle damage that doesn’t look dramatic
People assume shingle damage must look obvious—shingles on the lawn, big missing patches, clear tears. But storm damage can be quieter:
- lifted shingle edges that no longer seal,
- creased shingles from bending or impact,
- small areas where granules are disrupted,
- or a single shingle that’s slipped just enough to expose a vulnerable line.
From the ground, these can be invisible. From the roof, they can be obvious.
Underlayment/decking issues that “hold water” until they don’t
Underlayment is the protective layer beneath shingles. Decking is the wood structure the roof is built on.
If water gets past the top layer, it may not immediately drip into your ceiling. It can:
- spread across underlayment,
- collect along a seam,
- saturate decking in one area,
- and only later find a path into the house.
This is why a leak can appear days after a storm, or only after the next rain.
A useful mental model: a stain can be the first visible exit point—not the first moment water entered.
Ventilation/condensation lookalikes (what makes it different)
Not every ceiling stain is a roof leak. Some moisture problems come from condensation or ventilation issues, especially in certain seasons or in bathrooms/laundry areas.
What can make condensation look different:
- it may appear without a recent storm,
- it may correlate with indoor humidity (showers, cooking, HVAC changes),
- it may show up as diffuse moisture rather than a localized “ring.”
But here’s the important nuance: if your trigger is “first water spot on the ceiling days after a storm,” it’s reasonable to treat it as a potential roof-system issue until proven otherwise. You don’t need to diagnose it perfectly on day one—you need to respond smartly and preserve evidence.
Hidden Damage Risks: What Can Be Happening Under the Shingles
The reason contractors take “small leaks” seriously is not because every leak means a full replacement. It’s because water in a roof system can do damage in places you can’t see from your living room.
Potential hidden issues include:
- Decking soft spots: Wood doesn’t have to look destroyed to be weakened. Repeated wetting is what changes it over time.
- Underlayment tears or compromised seams: Storm conditions can turn a tiny vulnerability into an active pathway.
- Moisture intrusion paths: Once water finds a route, it tends to reuse it.
- Interior cavity moisture: Water can dampen insulation and framing, which can create ongoing moisture conditions.
Ongoing moisture can increase the risk of mold and material deterioration. The earlier you identify the true entry point, the easier it is to prevent the “small stain” from turning into a bigger interior project.
Common Mistakes That Make It Worse (Even When You’re Trying to Be Responsible)
Most roof-leak mistakes come from good intentions: “I’ll just stop it for now.” The problem is that some quick fixes create new problems.
Caulking/tarring as a first move
It’s understandable—you want the leak to stop. But some temporary fixes can make it harder to locate the true entry point later. They can also trap water where it shouldn’t be, or create a false sense of resolution while moisture continues to move underneath.
If you do anything DIY, prioritize interior protection and documentation first. Let diagnosis come before patching.
Waiting for “one more rain to confirm”
Homeowners often say: “If it happens again, then I’ll call someone.”
The risk is that additional wetting events can worsen existing moisture problems. You don’t need to “prove” a leak by letting it repeat. A single stain after a storm is already a meaningful signal.
Throwing away the timeline (no photos, no dates)
Even if you never file an insurance claim, the timeline matters for making sense of the cause. Without photos and dates, you’ll rely on memory—which gets fuzzy fast.
Take the 5 minutes now. Future-you will be glad you did.
Only repairing the visible interior symptom
Painting over the stain, patching drywall, or running a dehumidifier can make the ceiling look better while the roof issue remains untouched.
Interior repair is important—but it’s step two. Step one is stopping the source.
How to Know It’s “Inspection-Now” vs “Monitor” (A Simple Decision Framework)
You don’t need a roofing degree to make a smart call. Use this decision framework based on what you can observe.
It’s “inspection-now” if any of these are true:
- The stain is growing in size.
- You have active dripping (even if it stops quickly).
- You smell mustiness or notice repeated dampness in the same area.
- The stain appeared after a significant storm event.
- The leak appears during wind-driven rain or heavy rain.
- You can see wet insulation or darkened wood in the attic.
In these cases, waiting tends to add risk, not clarity.
It may be reasonable to monitor briefly if:
- The stain is truly static (not growing),
- there’s no active dripping,
- and you have a plausible non-roof explanation (like an isolated condensation issue) that matches the location and timing.
Even then, “monitor” should still include documentation. Take photos today and again in 24–48 hours. If anything changes, shift to inspection.
When in doubt, a professional inspection is the safer route—especially after storms—because it replaces guessing with evidence.
Proof Posture: What a Real Roof Inspection Should Document (Get Facts, Not a Guess)
If you’ve ever gotten a “free estimate” that felt like a sales pitch, you’re not alone. What you want here is something different: a documentation-led inspection that answers clear questions.
A thorough inspection typically reviews multiple roof system components, not just shingles. At a minimum, you want documentation of:
- shingles (including signs of lift, crease, impact, or seal issues),
- flashing at transitions (chimneys, walls, valleys),
- penetrations (vents, pipes, skylights),
- evidence of storm impacts,
- attic conditions when accessible (moisture indicators, wet insulation),
- and any visible concerns with decking/underlayment where observable.
What good documentation looks like
- Photos and/or video you can keep.
- Notes that connect observed issues to likely leak paths.
- Clear prioritization: what needs immediate attention vs what can be scheduled.
What “claim-ready” documentation means (without promises)
In storm contexts, homeowners often need clear communication—whether that’s with a spouse, a contractor, or an insurance adjuster. Documentation helps clarify scope and avoids the “he said, she said” problem.
That doesn’t mean every leak equals an approved claim or a replacement. It means you’re making decisions based on recorded evidence instead of assumptions.
The Low-Friction Next Step: Book a Documentation-Led Inspection
If your first ceiling spot appeared days after a storm, the lowest-friction next step is simple: get the roof inspected in a way that produces usable documentation.
A typical documentation-led inspection flow looks like this:
- You request an inspection and share the basic timeline (storm date, when the stain appeared).
- The roof is inspected and documented (photos/video).
- You receive clear findings and next steps—what’s urgent, what’s optional, and what to watch.
What to do before the inspection:
- Save your photos/videos of the stain.
- Write down the storm date and when you noticed the leak.
- If you can safely access the attic, note anything wet/damp you observed (no need to be perfect).
If you want to move from uncertainty to a plan, an evidence-based inspection is how you get there.
FAQ content
1) Is a small ceiling stain after a storm always a roof leak?
Not always. Some stains can come from condensation or other moisture sources. But if the stain shows up days after a storm, it’s reasonable to treat it as a potential roof-system issue until an inspection confirms otherwise.
2) How fast can a small roof leak get worse?
It varies. Some leaks stay small for a while, but others worsen quickly with the next rain or wind-driven storm. The main risk is repeated wetting, which can expand interior damage and increase moisture problems over time.
3) Should I put tar or caulk on a small leak to stop it temporarily?
It’s usually better to document first and identify the true entry point. Some temporary fixes can obscure diagnosis and create new issues if applied in the wrong place. Focus on protecting the interior and getting a proper inspection.
4) Can roof leaks travel and show up far from where water enters?
Yes. Water often follows framing and can appear away from the entry point. That’s why the ceiling stain doesn’t always line up with the exact roof location that needs repair.
5) When should I call a roofer for a small leak after a storm?
Call sooner if the stain is growing, you have any active dripping, you notice repeated dampness, or the stain appeared after a significant storm. If you’re unsure, an inspection is the safest way to avoid guessing.
6) What should a roof inspection include to document storm damage?
At a minimum: photos/video and a review of shingles, flashing, transitions, penetrations (vents/pipes/skylights), and visible storm impacts. If attic access is available, the inspection should also note moisture indicators inside.
Not sure if that small ceiling stain is “nothing” or the start of bigger storm damage?
Red Top Roofing & Exteriors can document what’s happening with a roof-system inspection (photos/video included).
You’ll get clear findings, what to fix first, and what to keep as evidence—so you’re not guessing.
Request your free inspection and we’ll help you move from uncertainty to a plan.
RELATED LINKS: